ConvertPath is a Fortune 500 website personalization software. It is a tool that allows you to Engage with visitors by creating dynamic popups. You can Run drip campaigns using popups and help analyze the user behavior data with A I insights.
Let's get started with the ConvertPath.
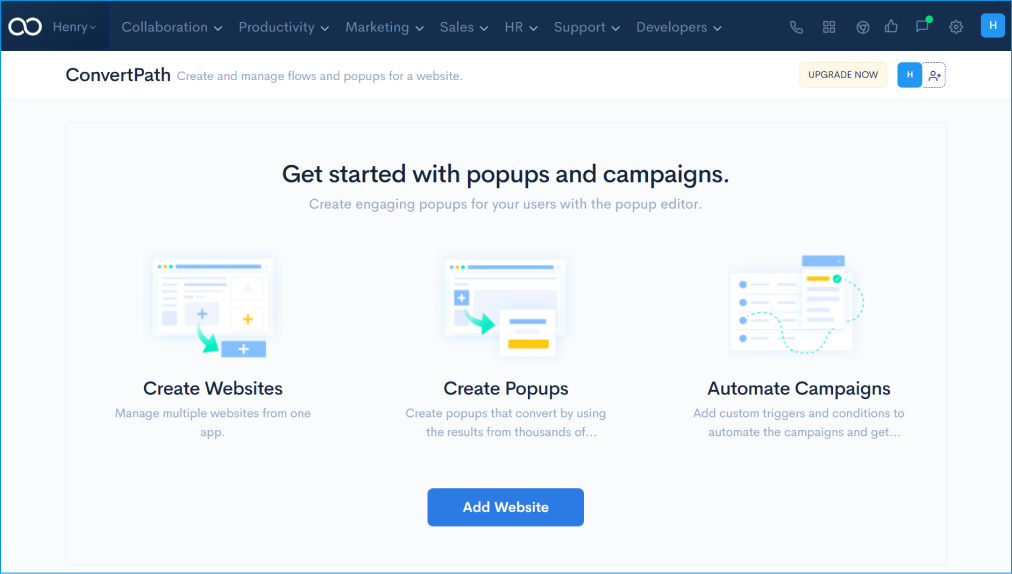
Go to the marketing Category tab and click on ConvertPath.
Click on Add website to get started.
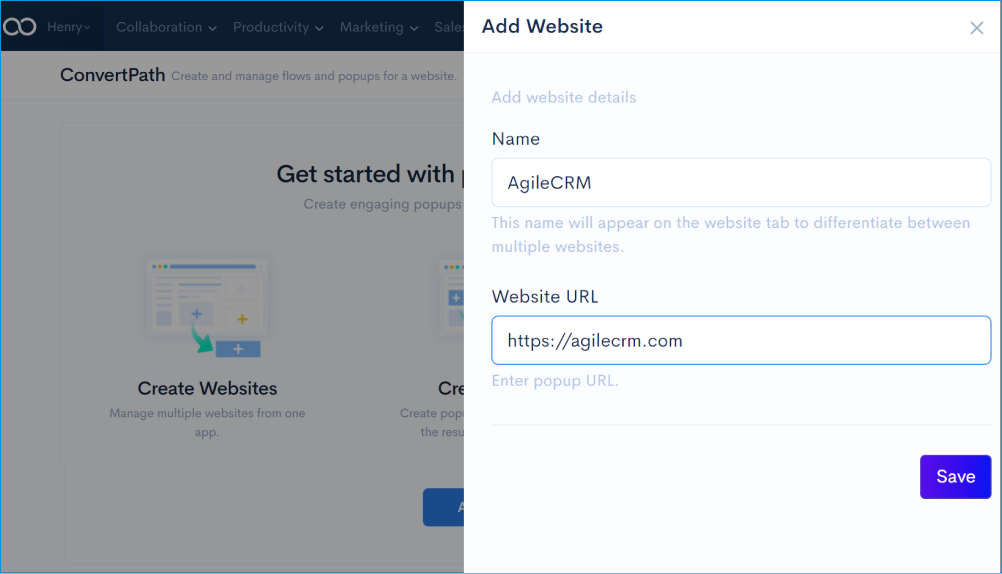
Enter the name and website URL of the website you want to create the popup notifications to get started and click on save.
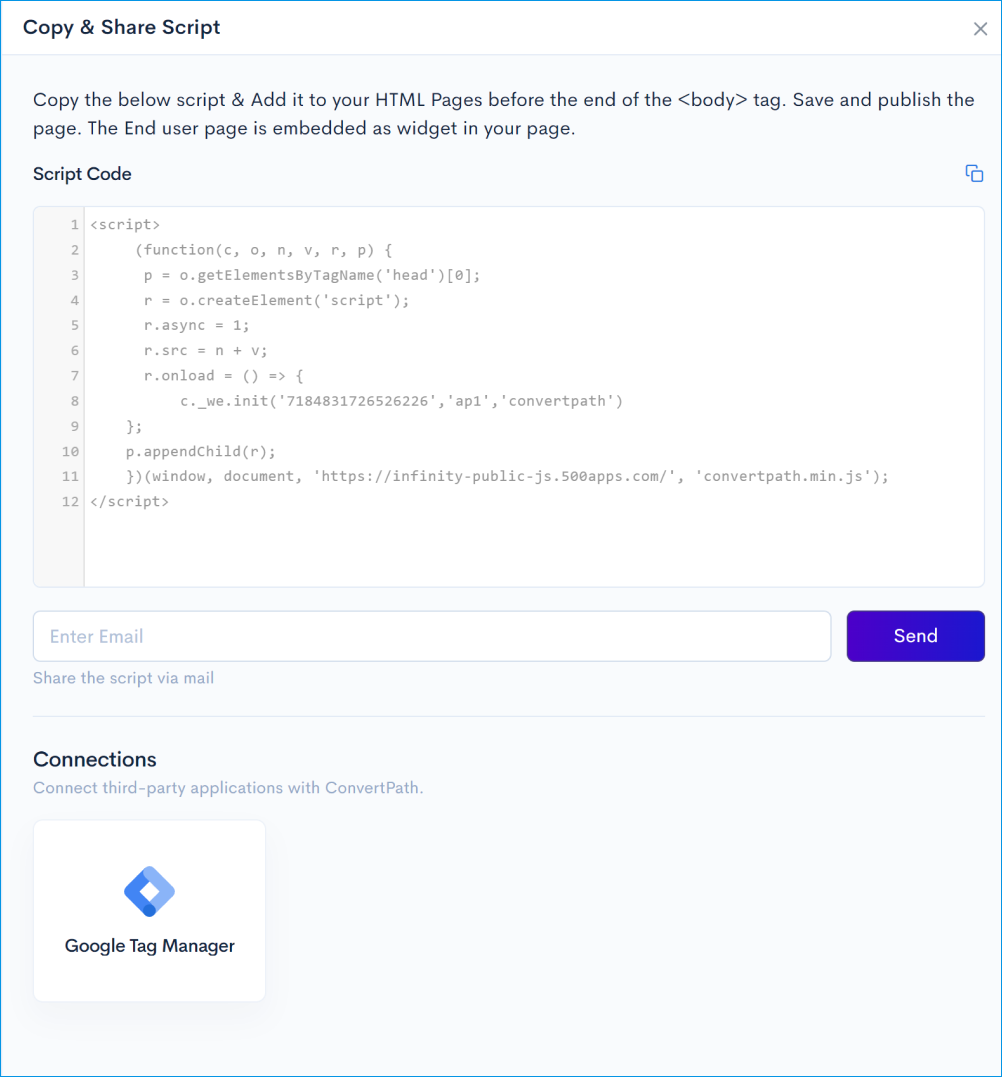
Now, copy the script code given in the slideout to your website header to integrate your website with ConvertPath.
Click on the Copy icon to copy the Script Code and paste it on the end of the body tag.
You can also email the script code to your developer by entering the email address and clicking Send.
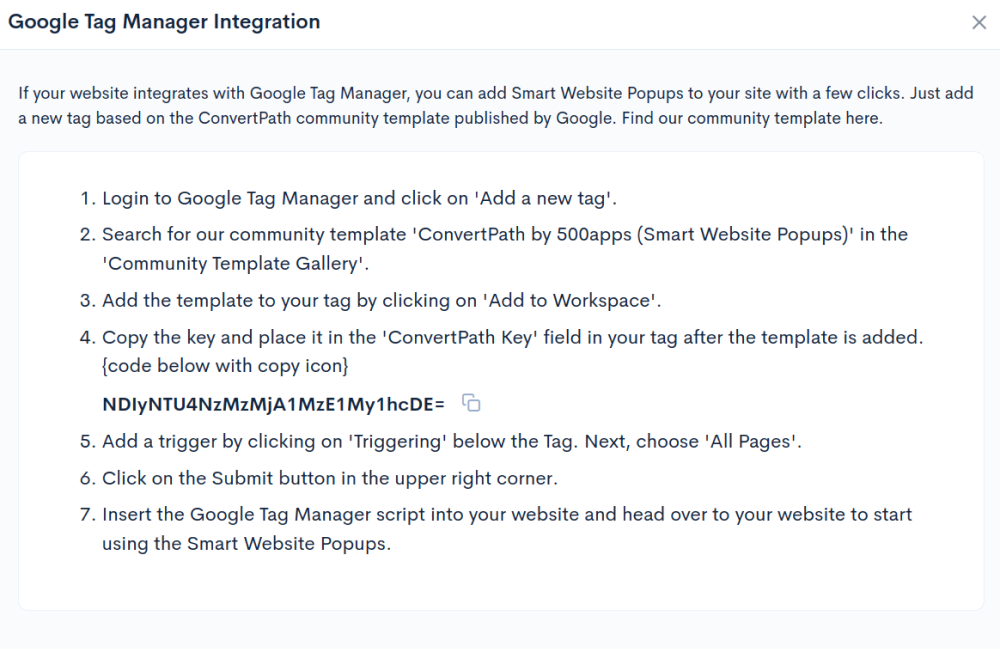
You can also embed the ConvertPath script directly using google tag manager plug-ins.
Click on the google tag manager card, and you will get the instruction on how to integrate our WordPress with ConvertPath.
Click on edit & delete icons for editing or deleting previously added website names.
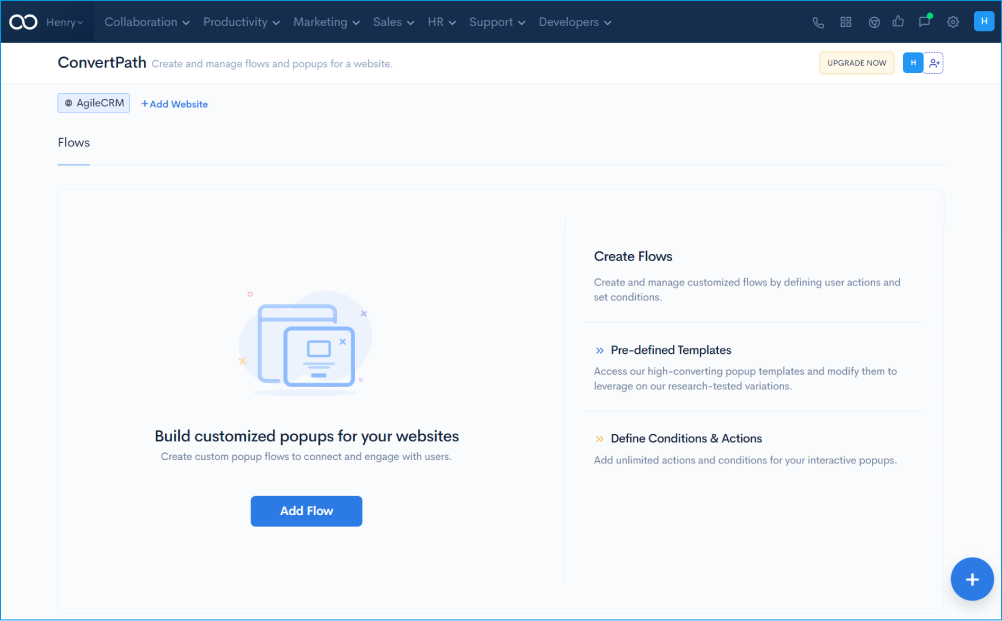
By default, you will be navigated to the Flows tab.
Using the Flows tab you can create popup campaigns, personalize your website for onboarding customers, and much more.
Click on add flow or the plus button in the bottom right corner to get started.
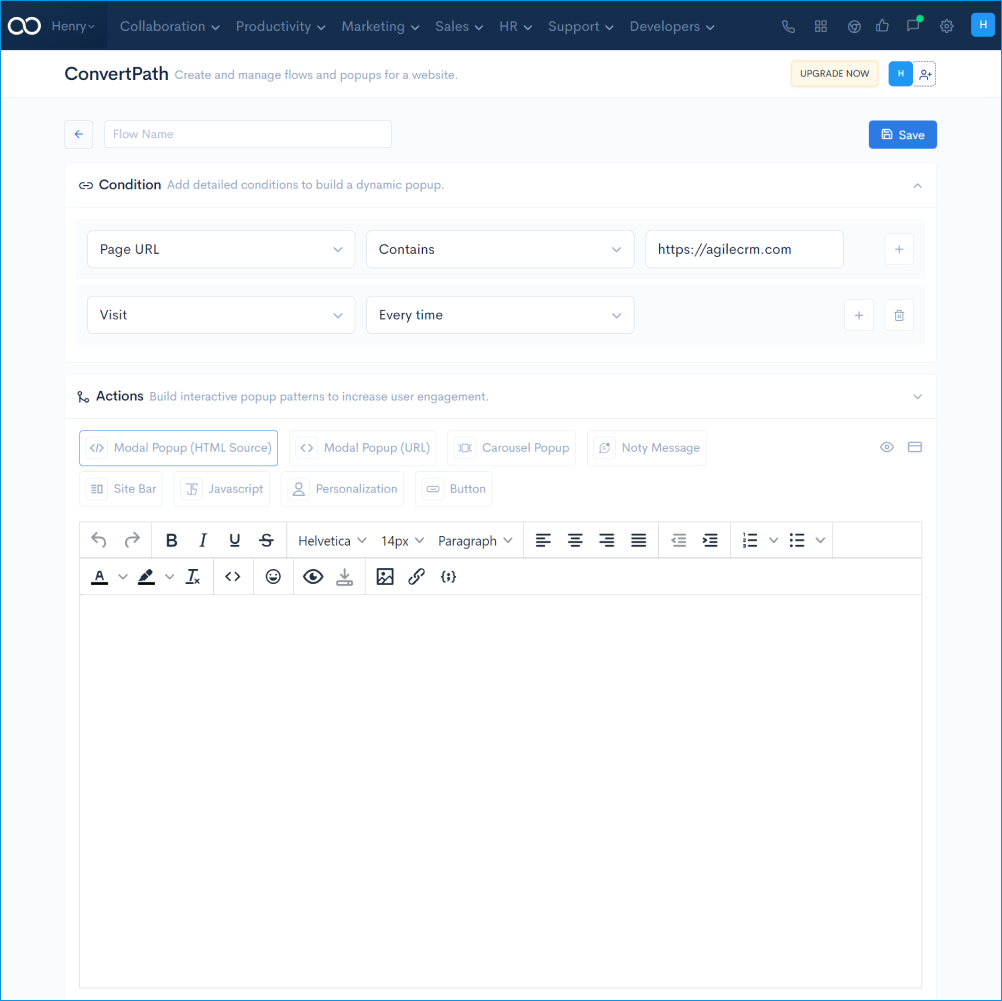
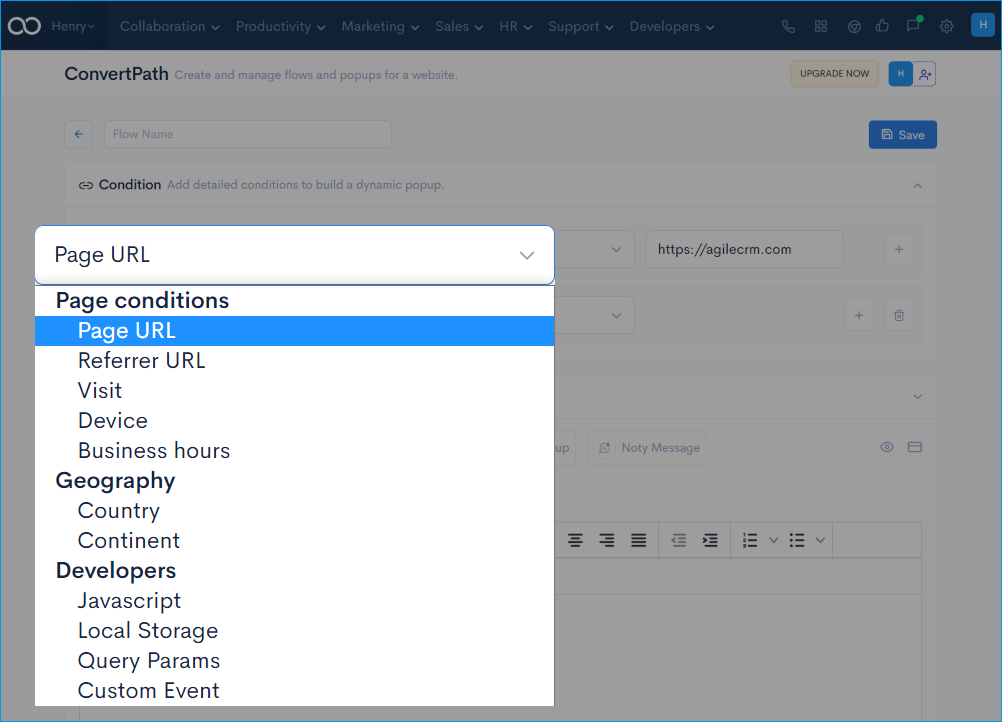
These conditions are used to activate a popup campaign or flow based on the page URL conditions.

These conditions are used to activate a popup campaign or flow. When the website visitors are landing on your website through a backlink or shared link. These can be used to determine how many traffic visitors are coming to the website using a particular backlink.

This condition is used to activate a popup campaign or flow based on the number of session visits.
For example, you can use this condition to trigger the signup process or onboarding process for a new visitor to your website.

This condition is used to activate a popup campaign or flow based on the visitor's device.
This condition can be used to customize popup campaigns or flows for mobile devices.

This condition is used to activate a popup campaign or flow based on the time you want to activate the campaign or flow.
For example, you can use this condition for your promotion sales or Black Friday sales.
You can customize based on the working hours, time zone, and weekdays.

Now let's go through each Geography condition in the list.
This condition is used to activate a popup campaign or flow based on the visitor’s country. You can use this condition to activate a campaign.
When the website visitor from the selected country is visiting the website based on the IP address.
For example, when a user from a foreign country is entering the regional website you can configure a popup to change it to their regional language
Click on the country dropdown to select the country.

This condition is used to activate a popup campaign or flow based on the visitor’s Continent.
You can use this condition to activate a campaign
When the website visitor from the selected Continent is visiting the website based on the IP address.
For example, you can show location-relevant offers and engage with local customers through pop-ups that allow geo-marketing.

Now let's go through each Developer's conditions in the list.
This condition is used to activate a popup campaign or flow based on the Javascript code given.
You can use this directly to insert the javascript code for the popup in the given field.
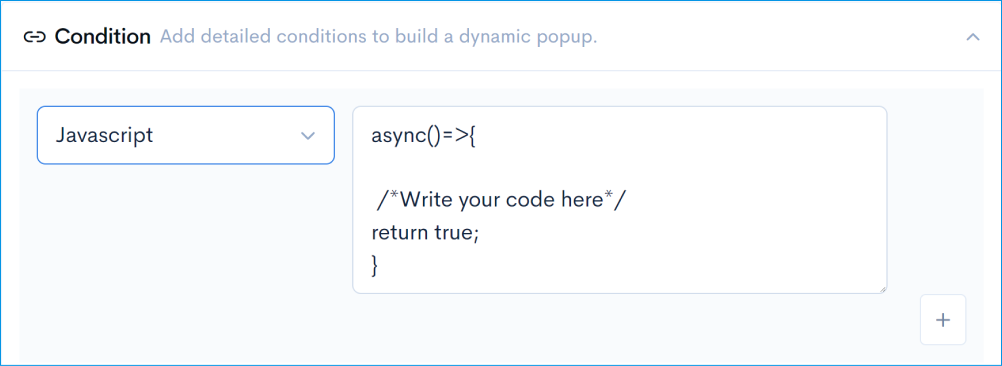
This condition is used to activate a popup campaign or flow based on the local storage of the visitor, as the visitor's local storage can store more than 5 MB.
This condition will be able to go through the local storage of the visitor which stores thousands of browser sessions.
Enter the key and value to search for it in the visitor browser sessions to activate the popup.

This condition is used to activate a popup campaign or flow based on a defined set of parameters attached to the end of a URL.
You can use this directly to insert the key and the value of the URL extension.
Click on the plus button to add multiple conditions and click on the minus button to remove or delete conditions. You can create a list of conditions to highly customize the popup.

Now let's look at the actions of the pop-ups available in the ConvertPath.
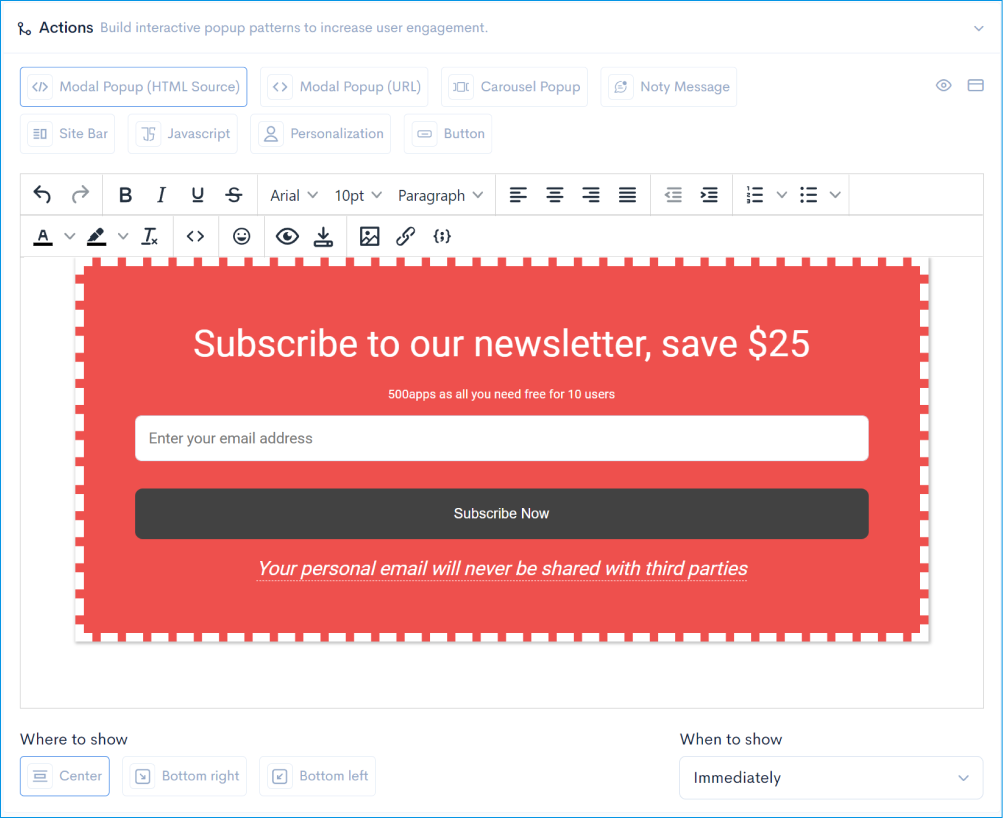
It helps you create a modal popup, click on pick a template to select the popup templates provided by the ConvertPath for various occasions.
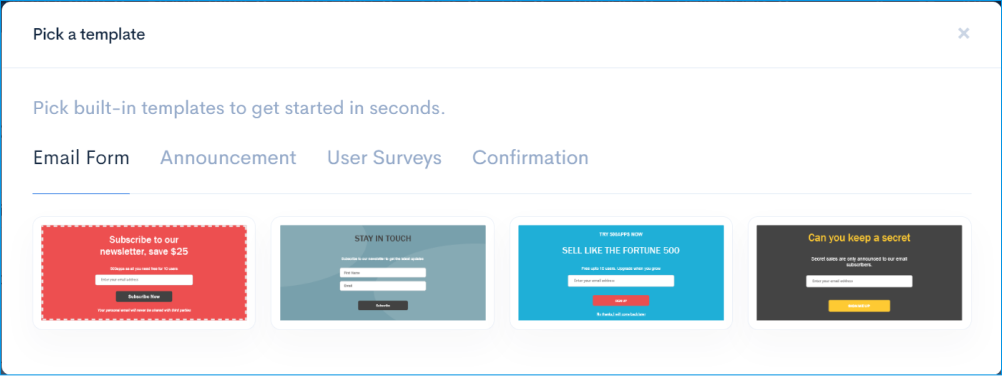
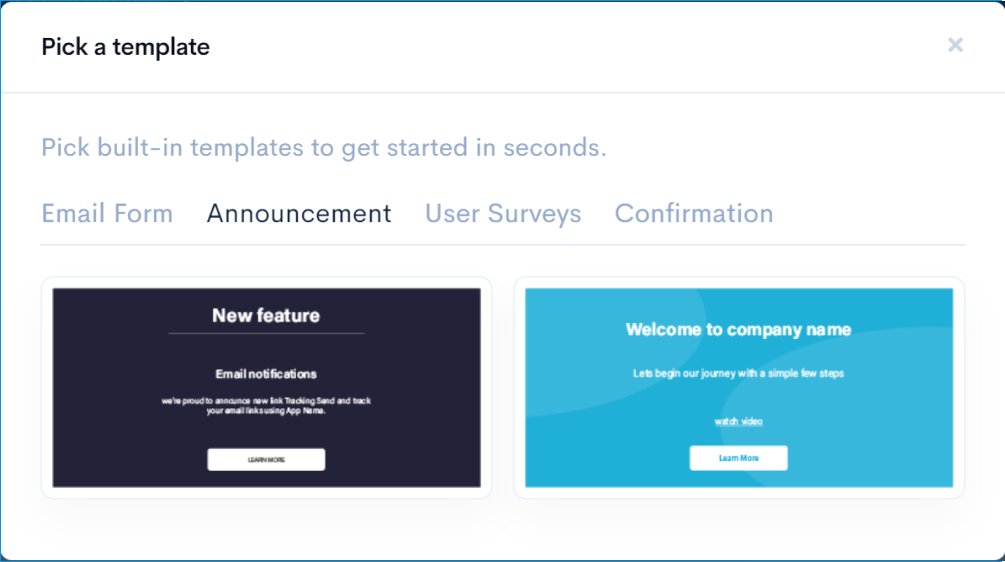
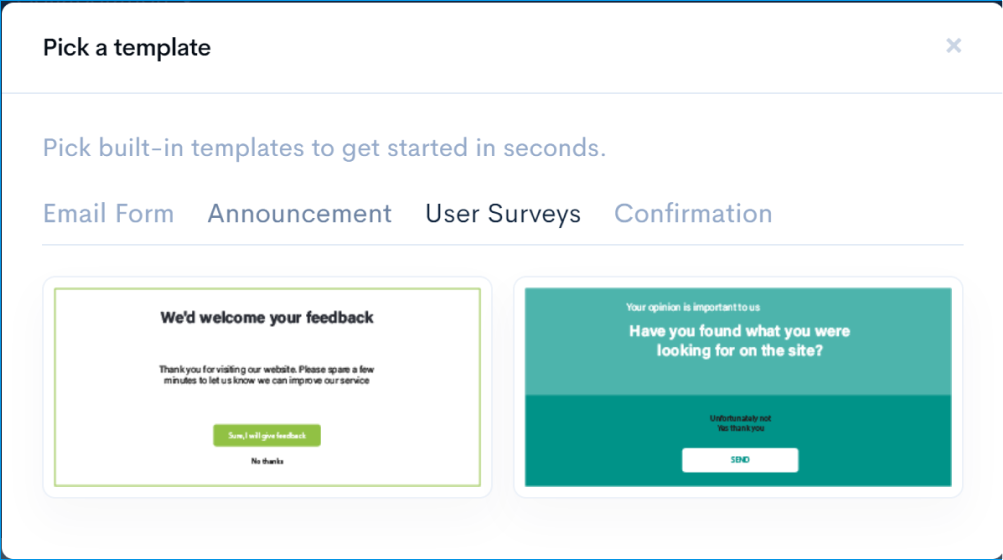
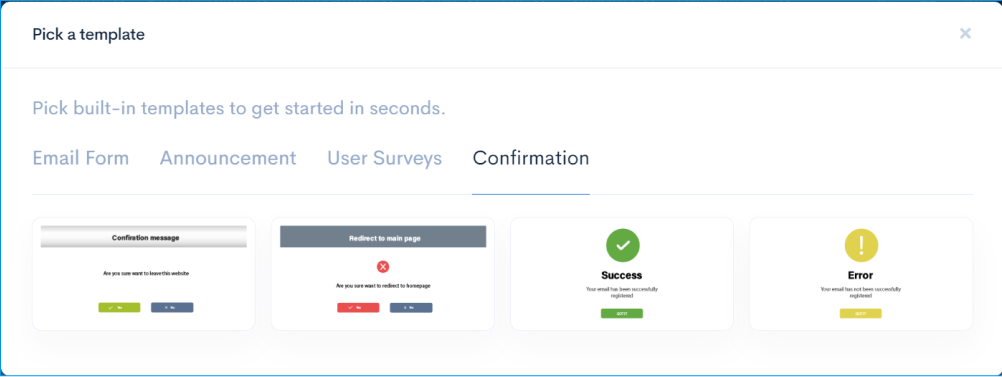
You can edit these pop-ups using the editor.
Click on the preview button to preview how the popup will appear on the website.
With this, you can insert an image URL to show as the popup on the website.
Insert the image URL in the URL field.

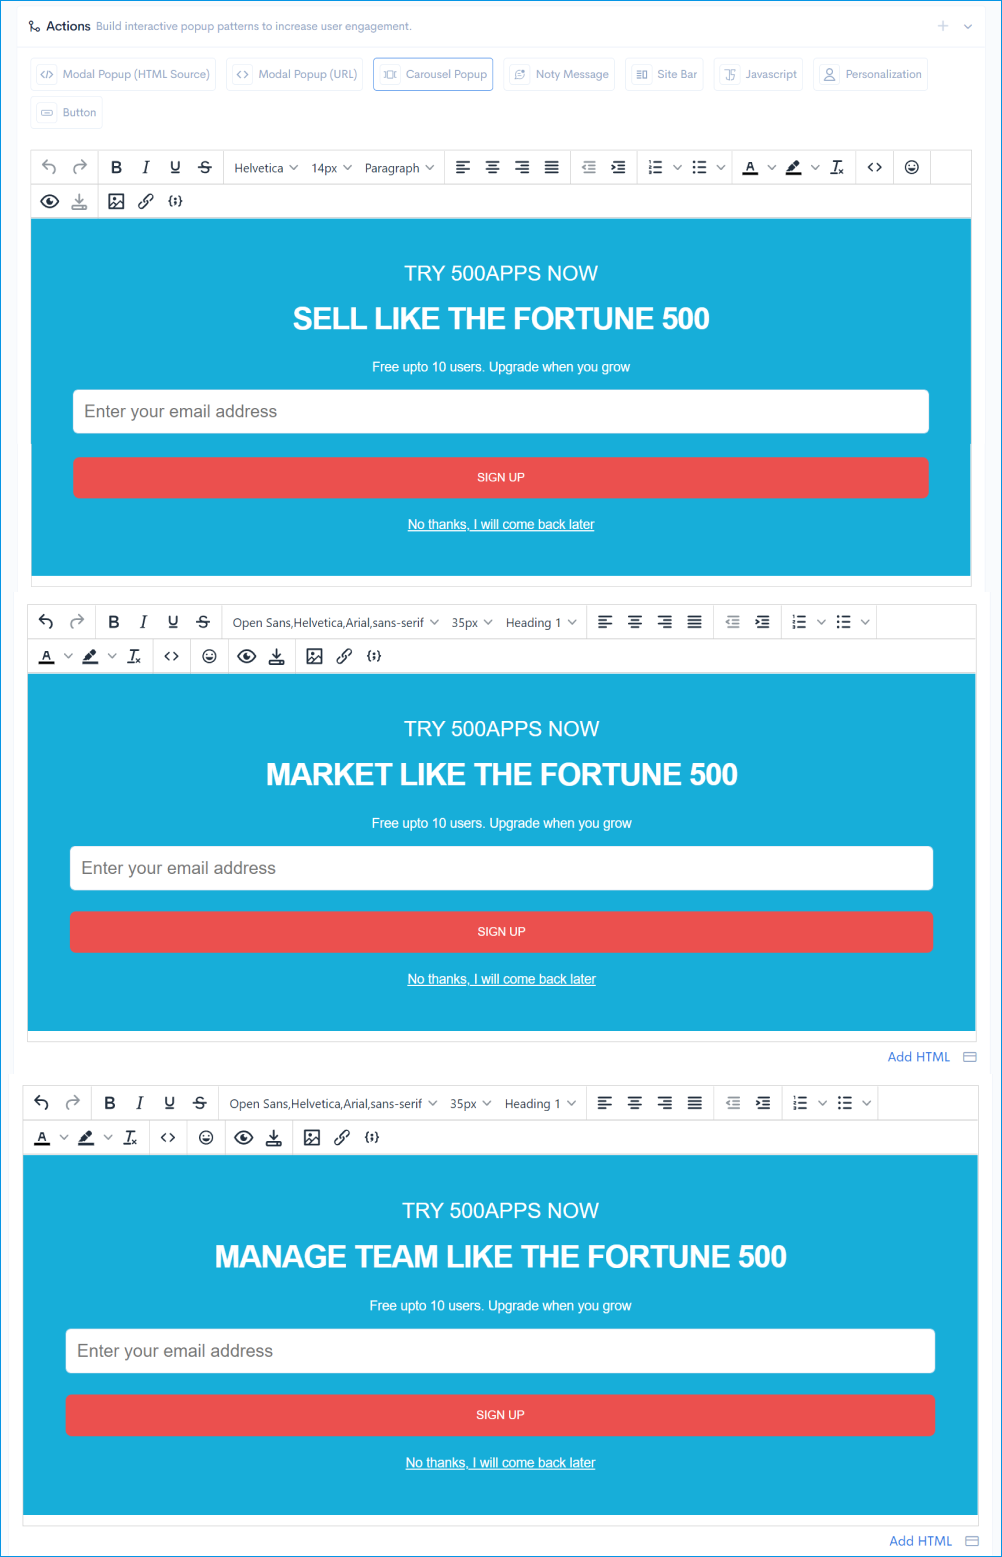
With this, you can add multiple popups to create a carousel popup.
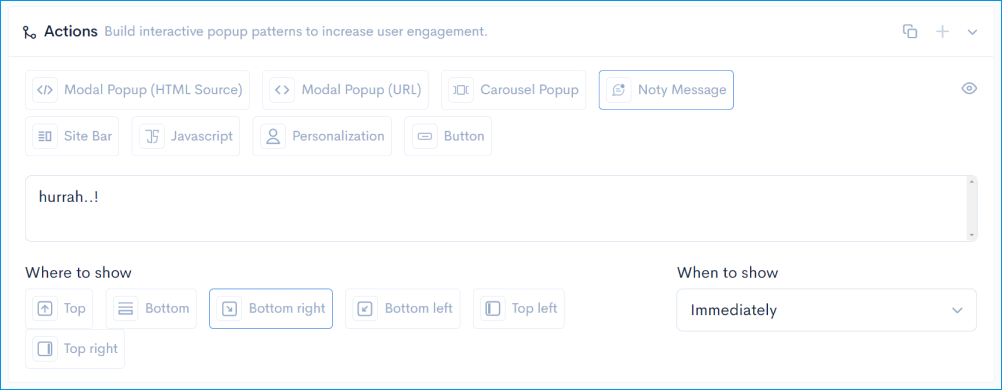
With this, you can create a text popup.
You can insert and customize the text using the text box.
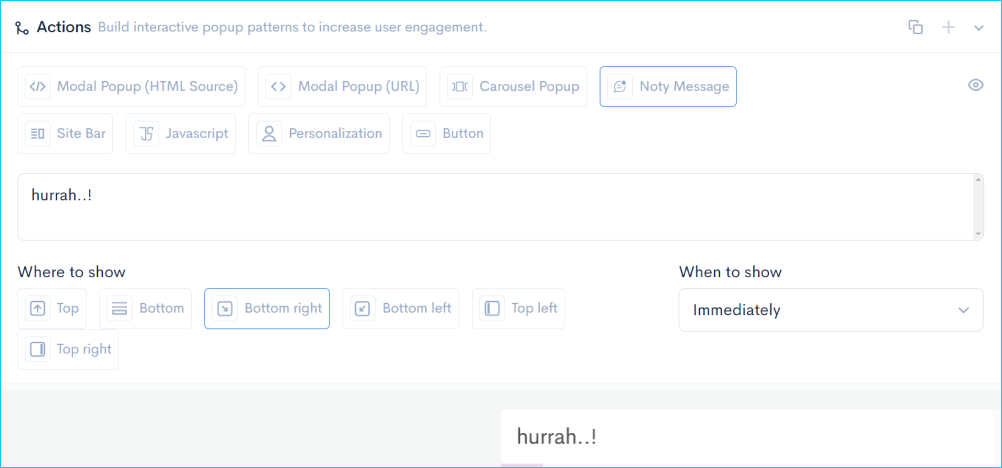
Click on the preview button to preview the popup created.
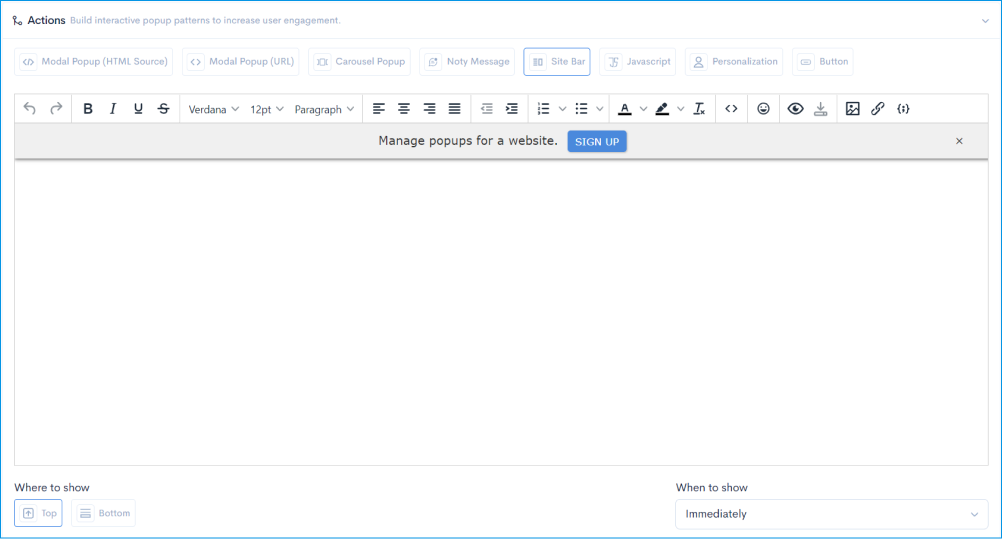
With this, you can create a website bar popup.
You can customize using the content builder.
For example, you can create a sign-up bar or cookie setting bar using this popup. You can insert links to create a CTA button using the editor.
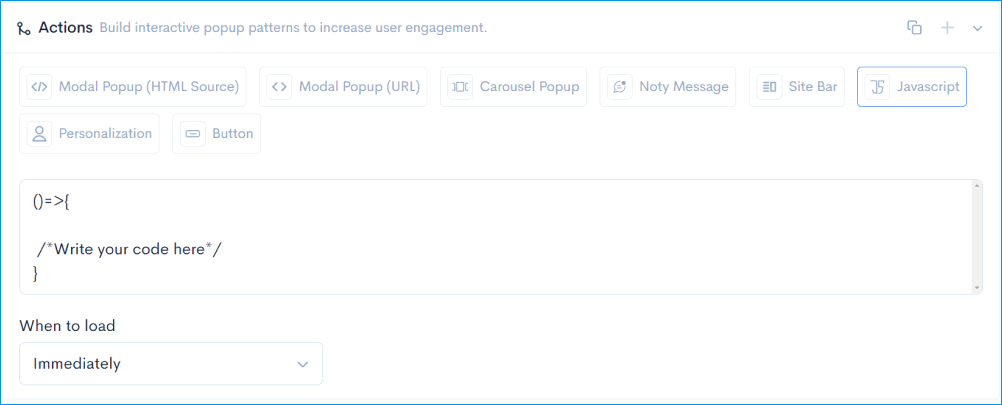
This action is used to create a popup based on the Javascript code given.
You can use this directly to insert the javascript code for the popup in the field given.
You can create personalized popups for your users.
You can insert the XPath, iD, or class of the website visitor to personalize the popup.
And enter the text in the text box given below.

You can create a call to action button on the website.
Insert the redirect URL and The button text in the respective fields to see the CTA button.

You can also select the position of the pop-ups on the website from the dropdown and click on preview.

To instantly Search flows by name.